4
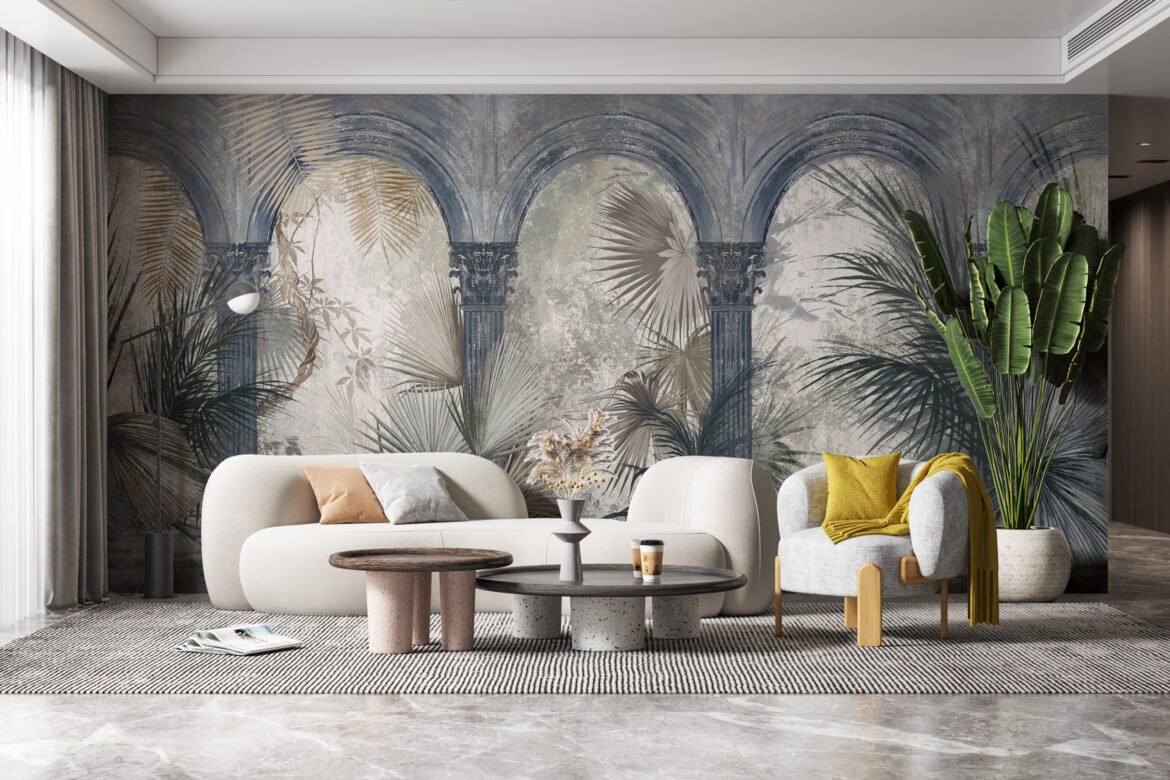
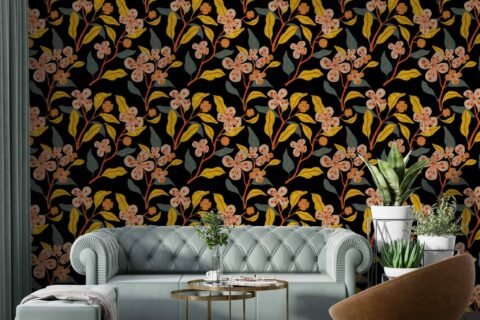
Wallpaper can completely transform a space—but only if it’s installed correctly. Even premium wallpaper can look bad with poor installation. This wallpaper installation guide explains the correct step-by-step process to achieve smooth, clean, and long-lasting results.
Whether you’re preparing for professional installation or want to understand the process, this guide will help you avoid common mistakes.
1: Prepare the Wall Properly (Most Important)
A smooth wall is the foundation of perfect wallpaper.
✔ Wall surface must be clean, dry, and smooth
✔ Remove dust, grease, or loose paint
✔ Fill cracks and uneven areas
✔ Let the wall dry completely
Tip: Wallpaper should never be applied on damp or flaky walls.
2: Measure the Wall Correctly
Correct measurement saves cost and prevents mismatch.
- Measure wall height and width
- Deduct doors and windows
- Add a little extra margin for alignment
Accurate measurement ensures perfect pattern matching and no wastage.
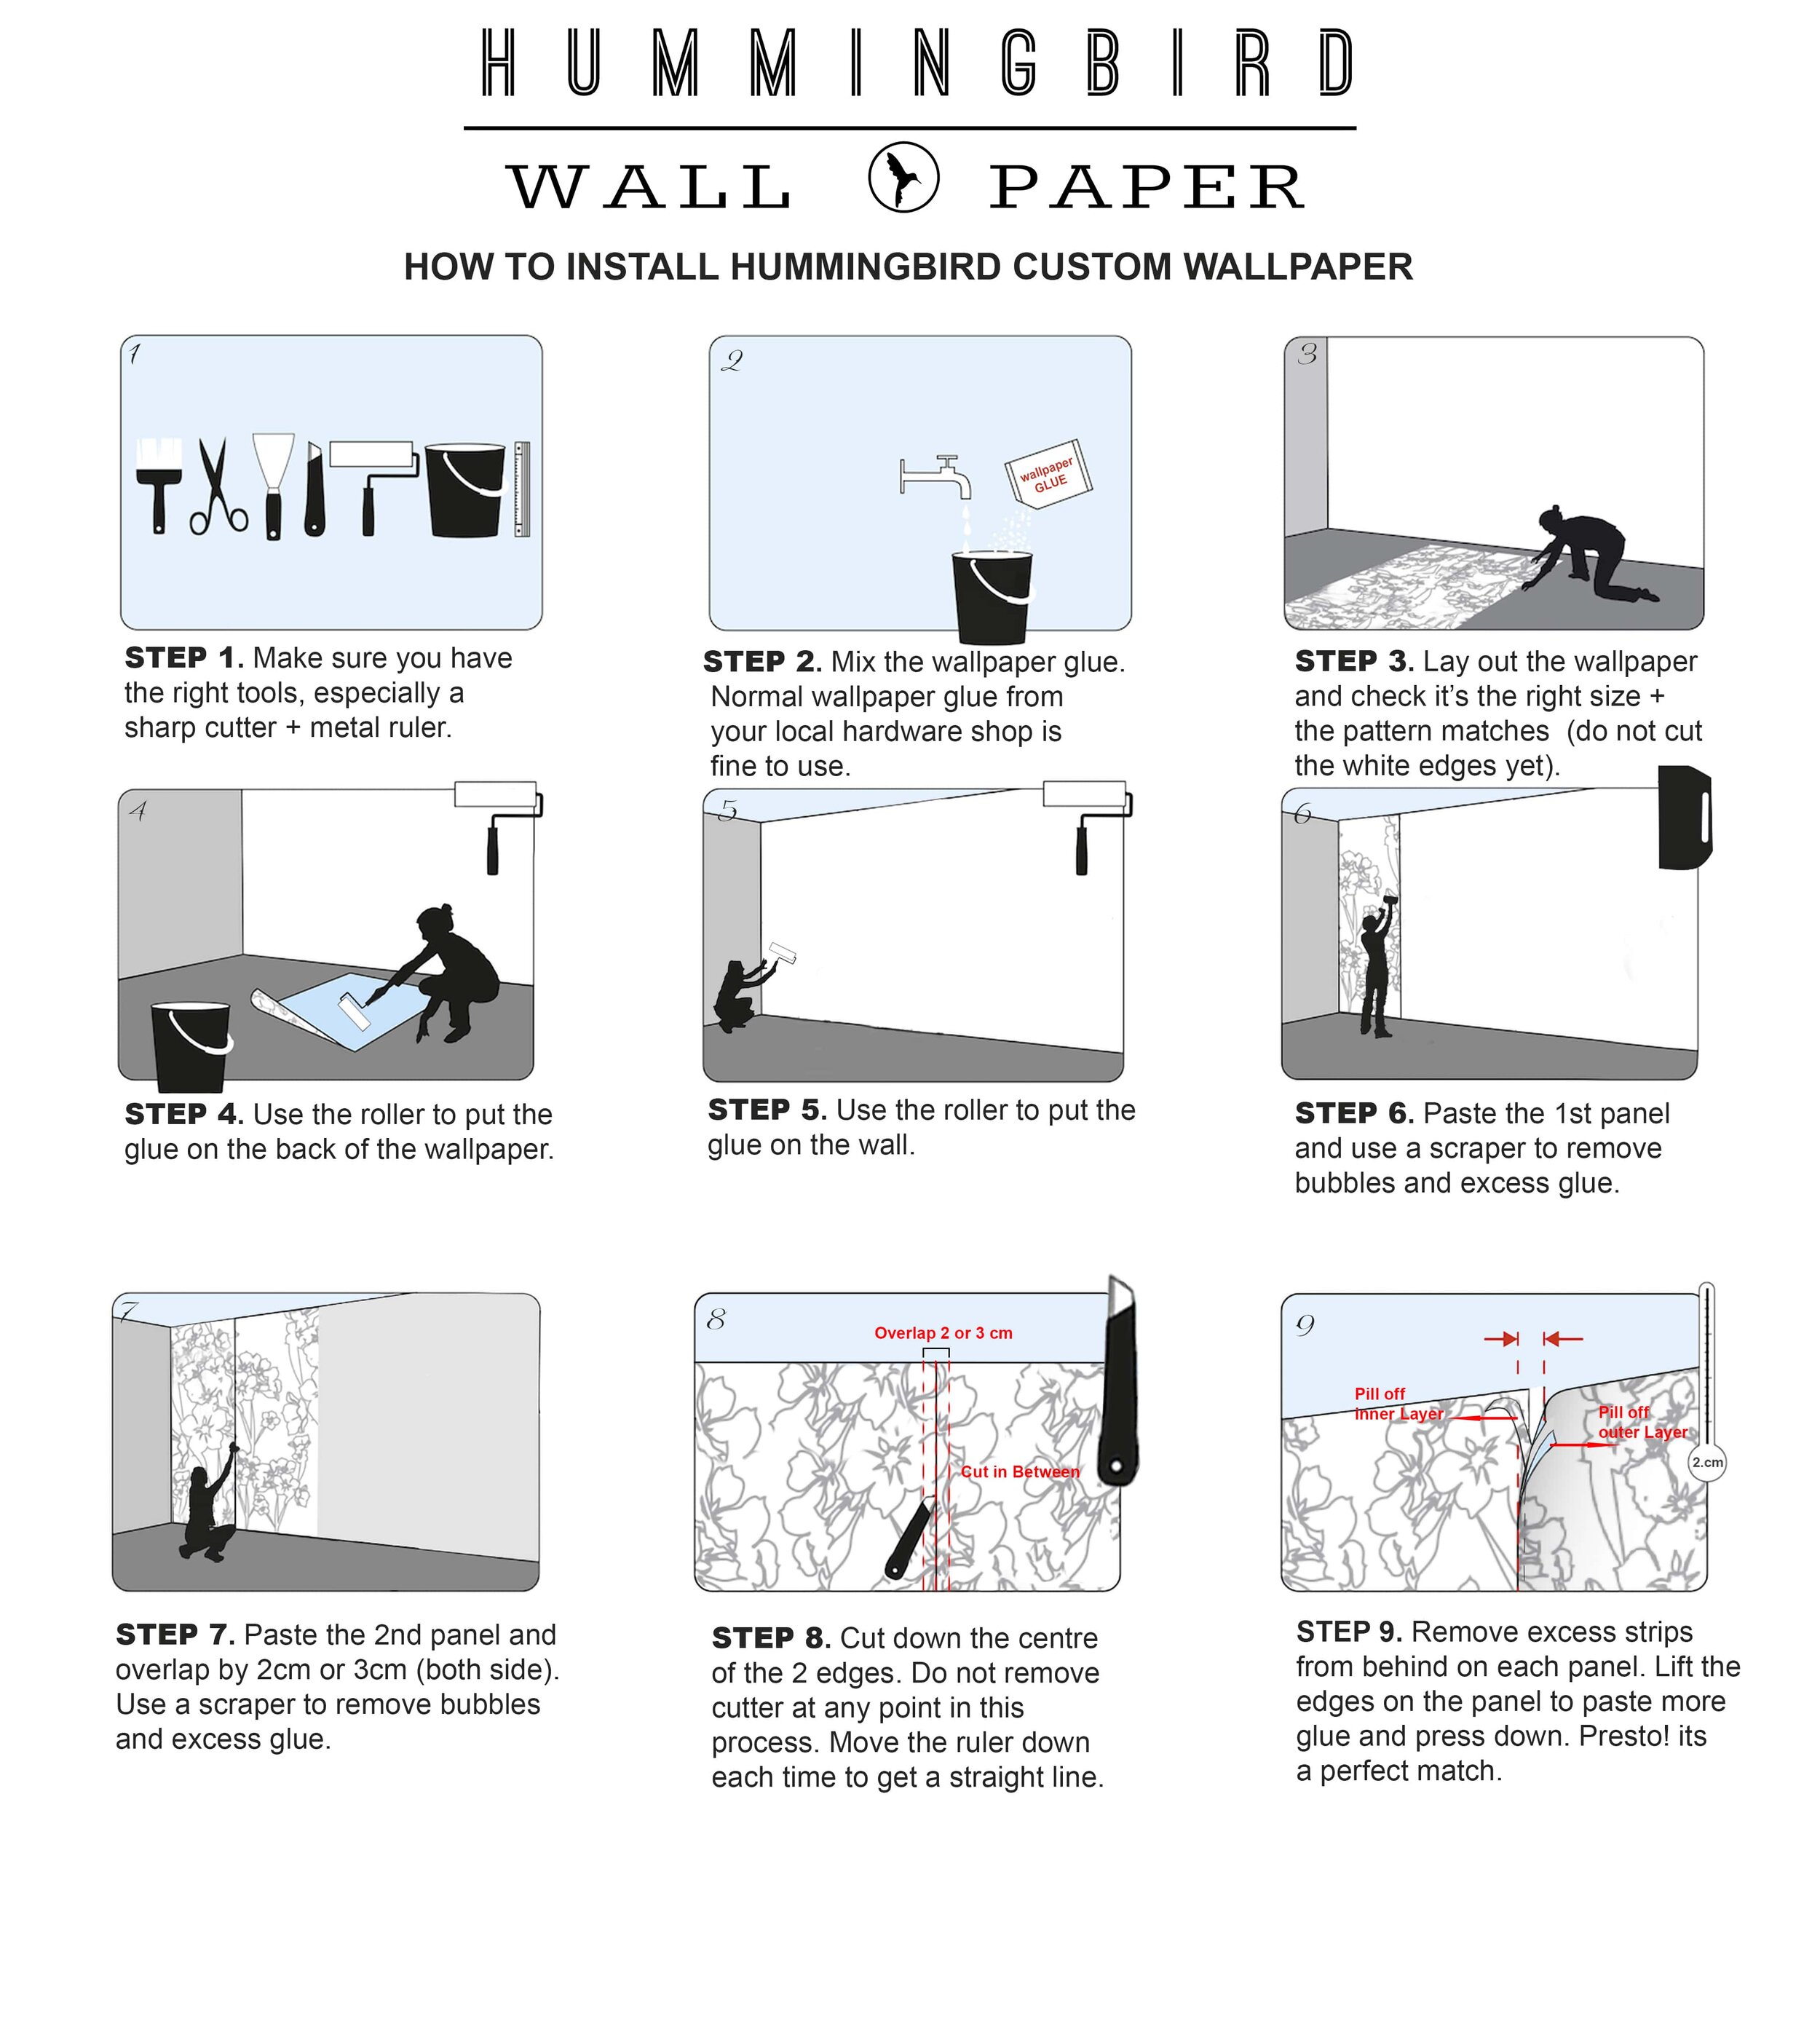
3: Cut Wallpaper Panels Carefully

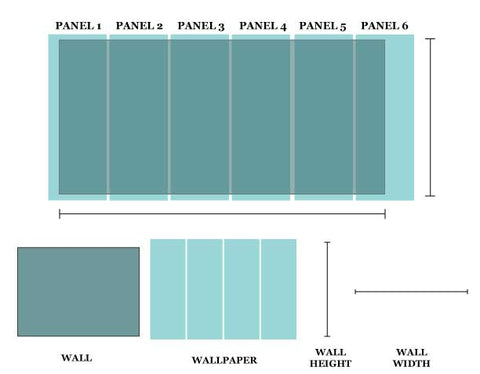

✔ Cut panels slightly longer than wall height
✔ Check design alignment before cutting
✔ Keep panels in correct order
This step ensures seamless joints and clean edges.
4: Apply Adhesive Evenly
- Use recommended wallpaper adhesive
- Apply adhesive evenly (no lumps)
- Avoid excess glue on edges
Uneven adhesive causes bubbles and peeling later.
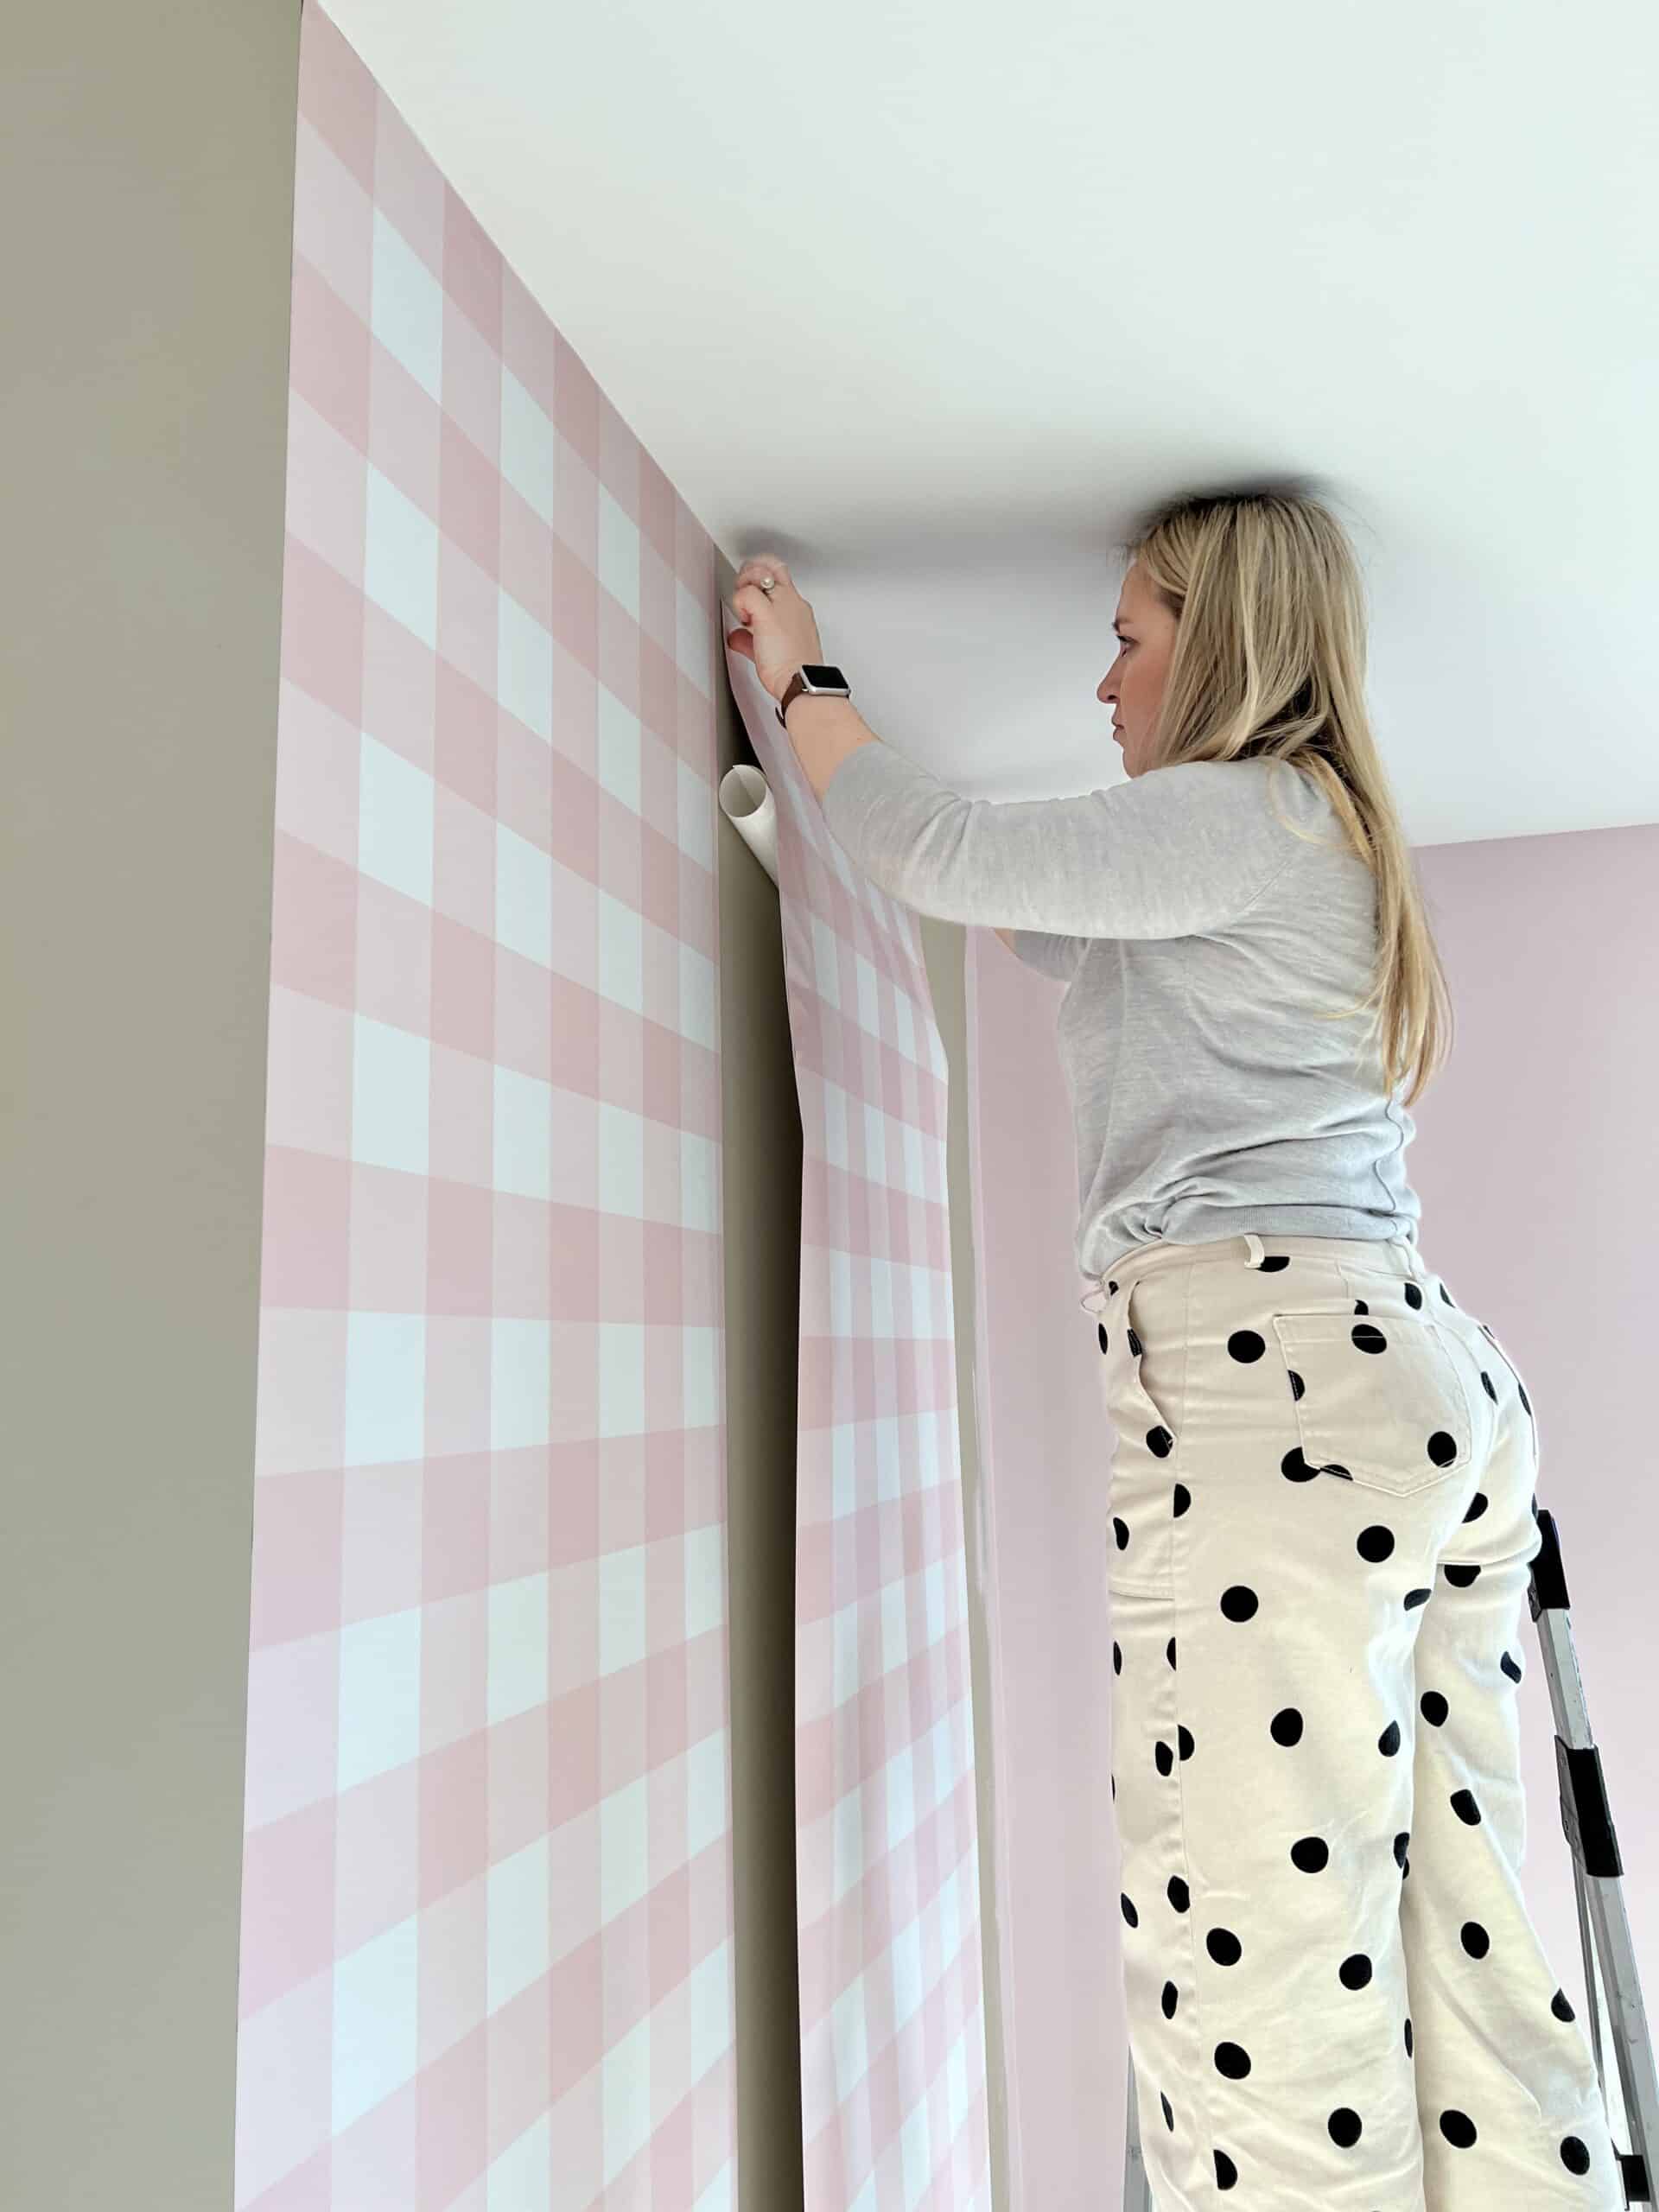
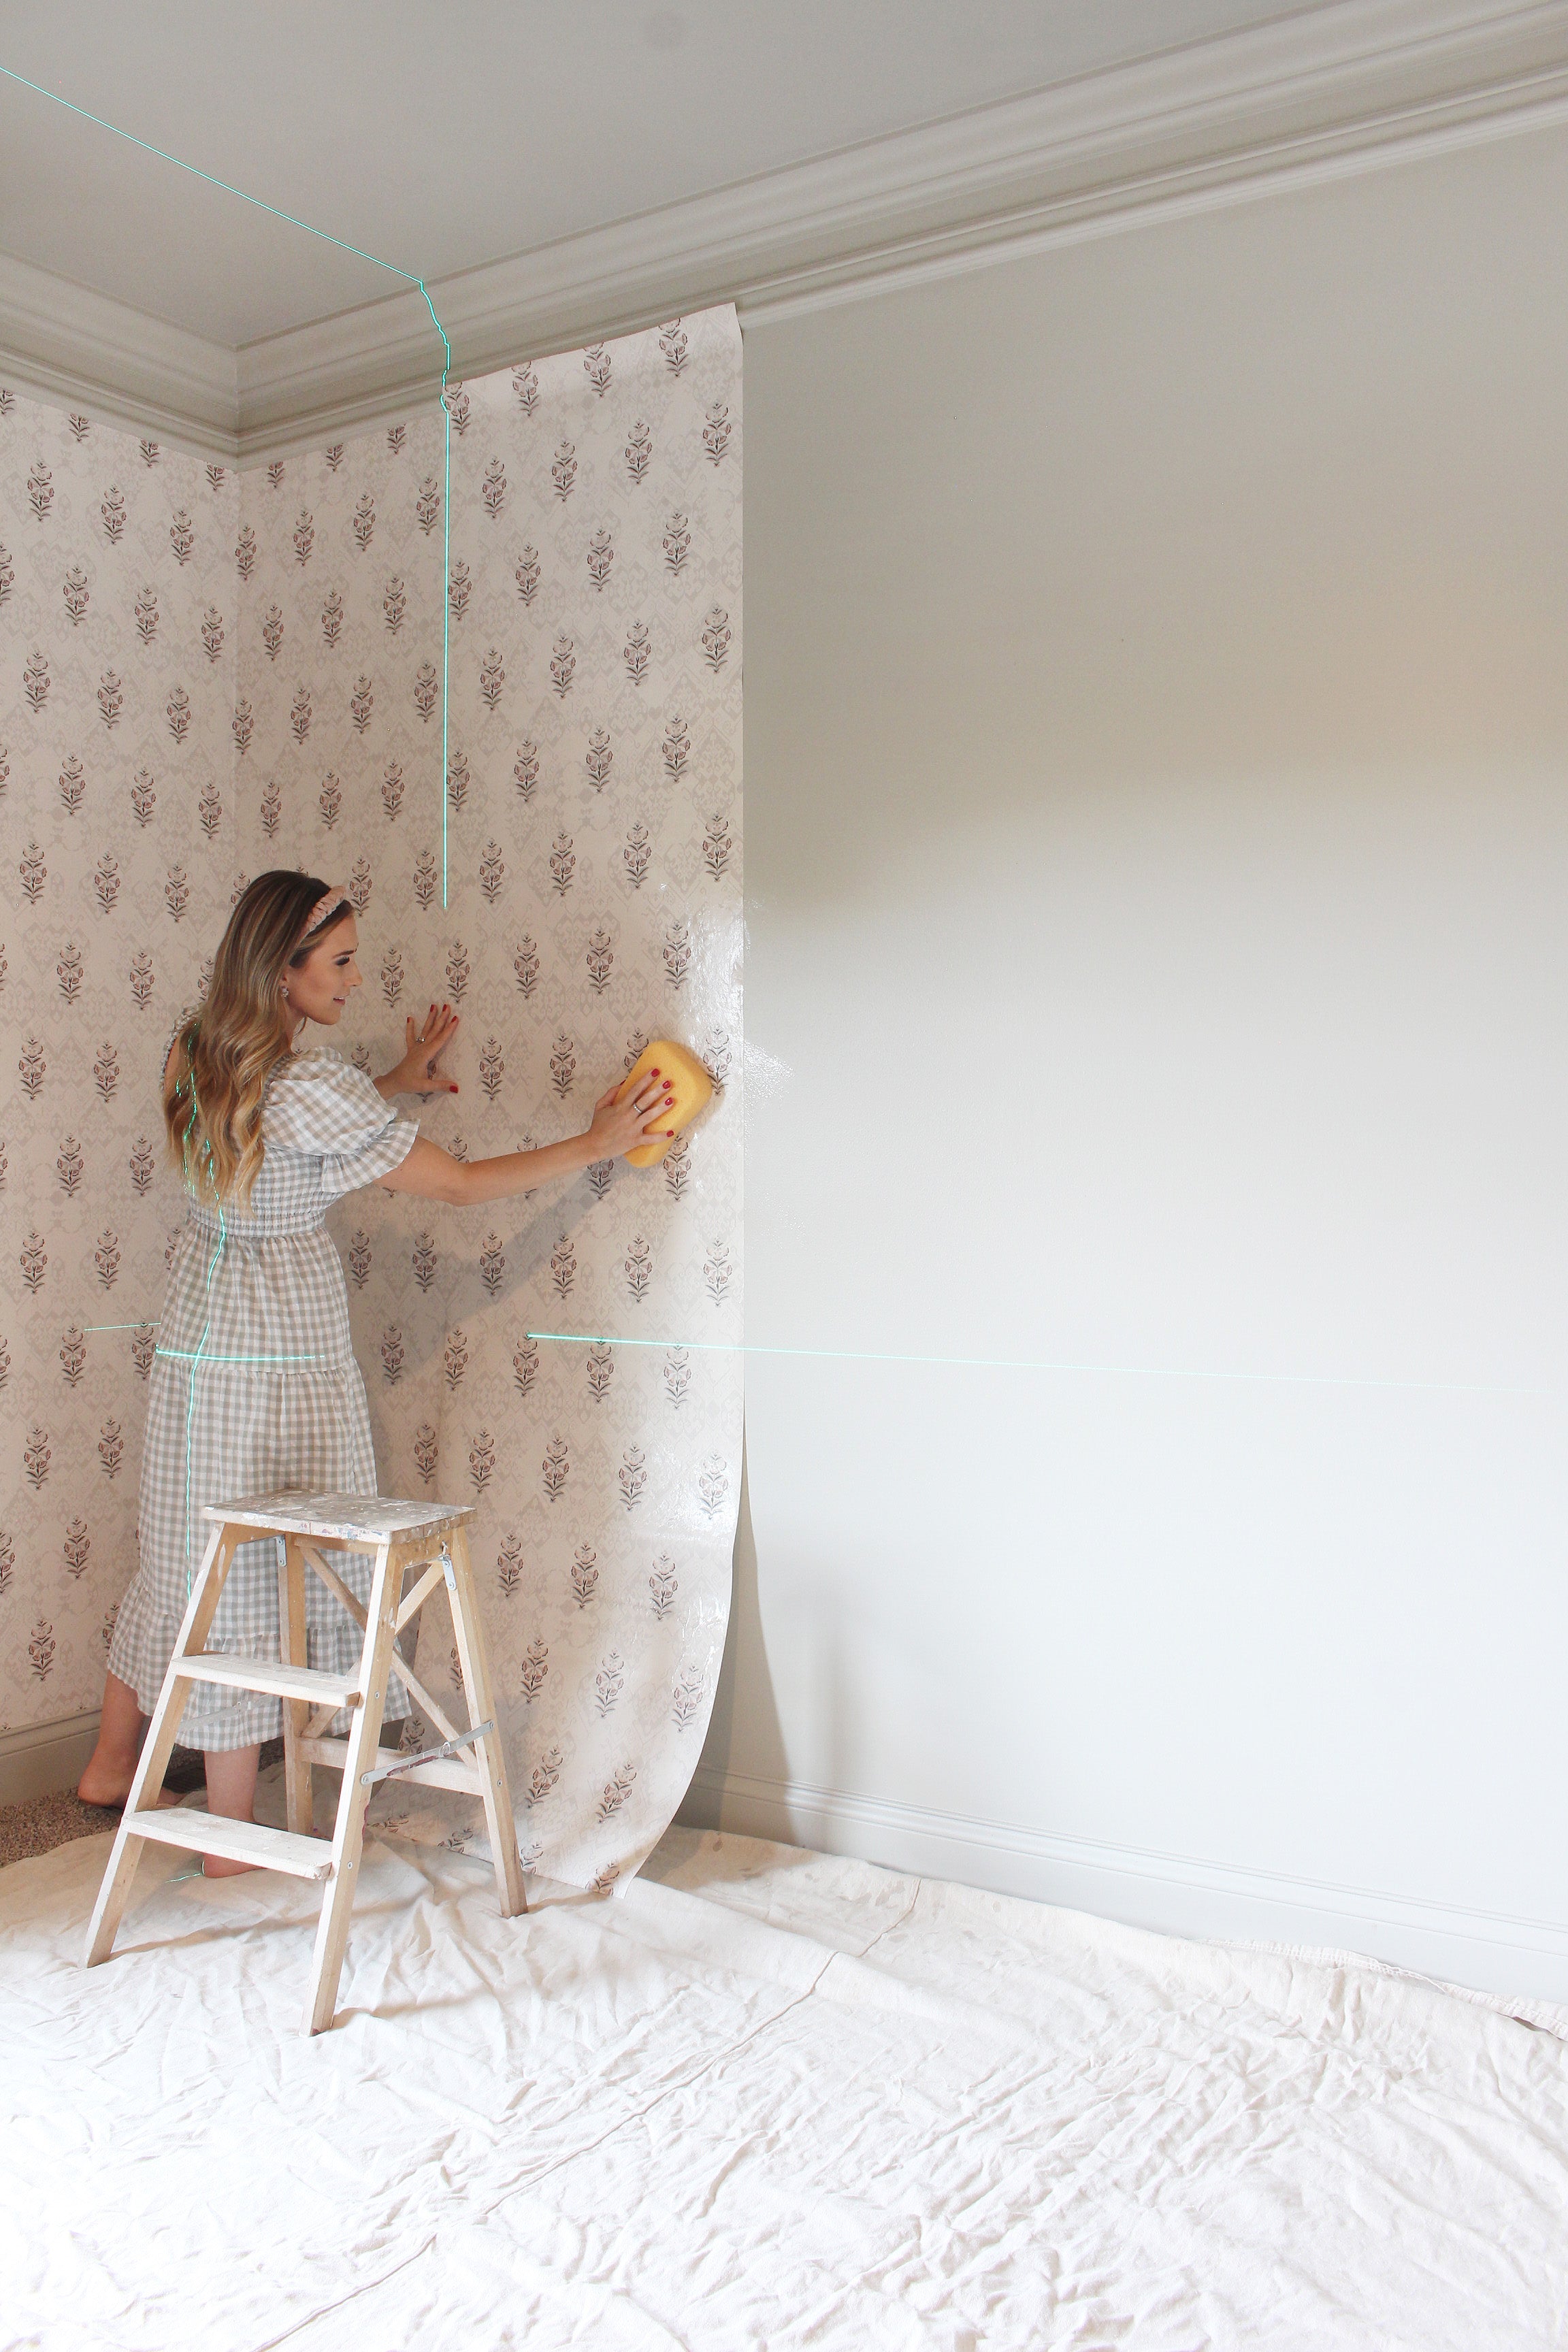
5: Paste Wallpaper on the Wall


✔ Start from the top and work downward
✔ Use a smooth tool to remove air bubbles
✔ Align patterns carefully
✔ Press edges firmly
Slow and careful application gives the best finish.
6: Clean Excess Glue & Finish Edges
- Wipe excess glue immediately
- Trim extra wallpaper cleanly
- Check joints and corners
Clean finishing makes wallpaper look professional.
7: Let Wallpaper Set Properly
✔ Avoid touching wallpaper for 24 hours
✔ Keep room well-ventilated
✔ Avoid moisture or water
Proper setting ensures long-lasting adhesion.
Common Wallpaper Installation Mistakes to Avoid
- Installing on damp walls
- Skipping wall preparation
- Poor measurement
- Rushing alignment
- Using low-quality adhesive
Avoiding these mistakes protects your investment.
Why Professional Installation Is Recommended
Premium wallpapers deserve expert handling.
Professional installers ensure:
Perfect alignment
No bubbles or wrinkles
Clean joints and corners
Long wallpaper life
This is especially important for textured and embroidery wallpapers.
Where to Buy Wallpaper That’s Easy to Install?
Wallkalakar offers premium wallpapers designed for smooth installation and long durability.
- High-quality materials
- Easy-to-handle wallpaper finishes
- Custom size options
- Safe delivery across India
- Trusted by interior designers
Quality wallpaper + correct installation = perfect walls.
Final Thoughts
Wallpaper installation may look simple, but the results depend on correct steps and patience. When done properly, wallpaper gives a flawless, luxury finish that lasts for years.
Understanding the process helps you get the best results—whether you DIY or hire professionals.
Explore premium wallpapers at Wallkalakar and enjoy a flawless wall transformation.


Leave a comment